Setting up ESP-IDF Development Environment on Windows
1. Download ESP-IDF tools installer
💡 Tip
It is recommended to set up the ESP-IDF development environment on Windows 10 or above. You can download the installer from https://dl.espressif.com/dl/esp-idf/. The installer is also an open-source software, and its source code can be viewed at https://github.com/espressif/idf-installer.
-
Online ESP-IDF tools installer
This installer is relatively small, around 4 MB in size, and other packages and code will be downloaded during the installation process. The advantage of the online installer is that not only can software packages and code be downloaded on demand during the installation process, but also allows the installation of all available releases of ESP-IDF and the latest branch of GitHub code (such as the
masterbranch). The disadvantage is that it requires a network connection during the installation process, which may cause installation failure due to network problems. -
Offline ESP-IDF tools installer
This installer is larger, about 1 GB in size, and contains all the software packages and code required for environment set up. The main advantage of the offline installer is that it can be used on computers without Internet access, and generally has a higher installation success rate. It should be noted that the offline installer can only install stable releases of ESP-IDF identified by v*.* or v*.*.*.
2. Run the ESP-IDF tools installer
After downloading a suitable version of the installer (take ESP-IDF Tools Offline 4.3.2 for example here), double-click the exe file to launch the ESP-IDF installation interface. The following demonstrates how to install ESP-IDF stable version v4.3.2 using the offline installer.
-
In the "Select installation language" interface shown in Figure 4.4, select the language to be used from the drop-down list.
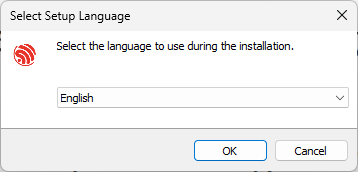
Figure 4.4. "Select installation language" interface -
After selecting the language, click "OK" to pop up the "License agreement" interface (see Figure 4.5). After carefully reading the installation license agreement, select "I accept the agreement" and click "Next".
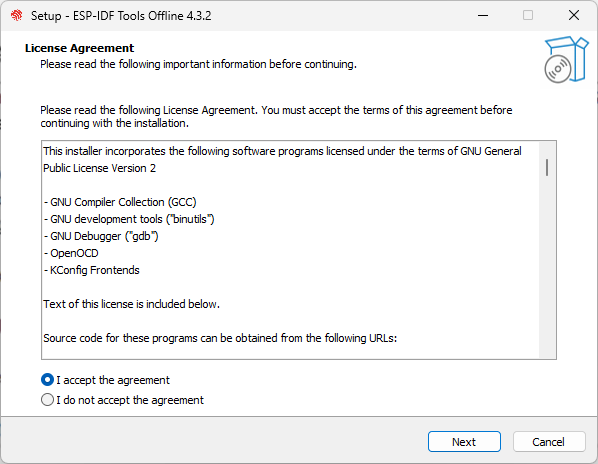
Figure 4.5. "License agreement" interface -
Review the system configuration in the "Pre-installation system check" interface (see Figure 4.6). Check the Windows version and the installed antivirus software information. Click "Next" if all the configuration items are normal. Otherwise, you can click "Full log" for solutions based on key items.
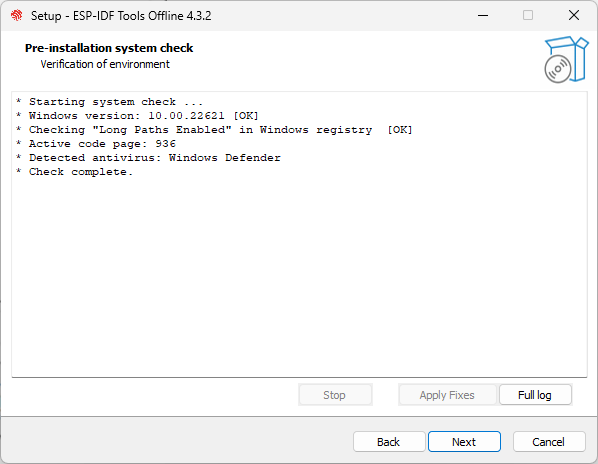
Figure 4.6. "Pre-installation system check" interface 💡 Tip
You can submit logs to https://github.com/espressif/idf-installer/issues for help.
-
Select the ESP-IDF installation directory. Here, select
D:/.espressif, as shown in Figure 4.7, and click "Next". Please note that.espressifhere is a hidden directory. After the installation is completed, you can view the specific contents of this directory by opening the file manager and displaying hidden items.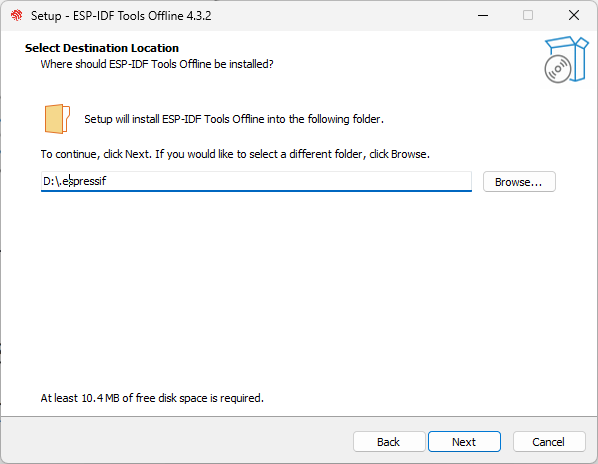
Figure 4.7. Select the ESP-IDF installation directory -
Check the components that need to be installed, as shown in Figure 4.8. It is recommended to use the default option, that is, complete installation, and then click "Next".
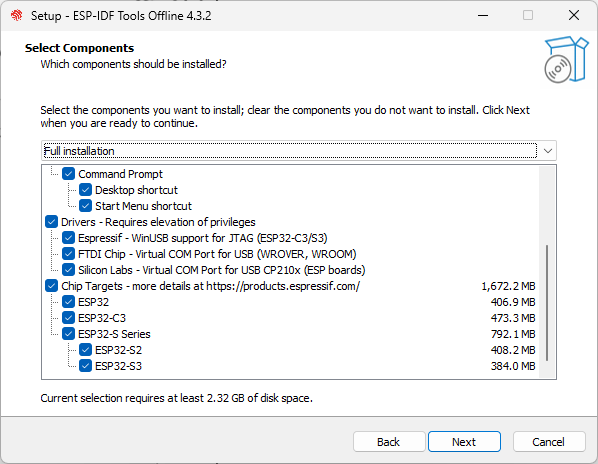
Figure 4.8. Select the components to install -
Confirm the components to be installed and click "Install" to start the automated installation process, as shown in Figure 4.9. The installation process may last tens of minutes and the progress bar of the installation process is shown in Figure 4.10. Please wait patiently.
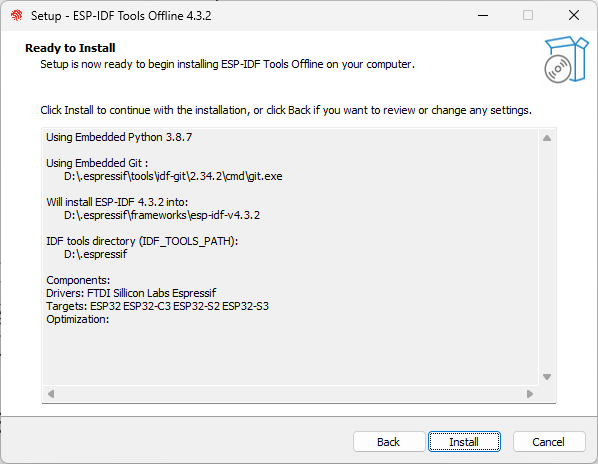
Figure 4.9. Preparing for installation
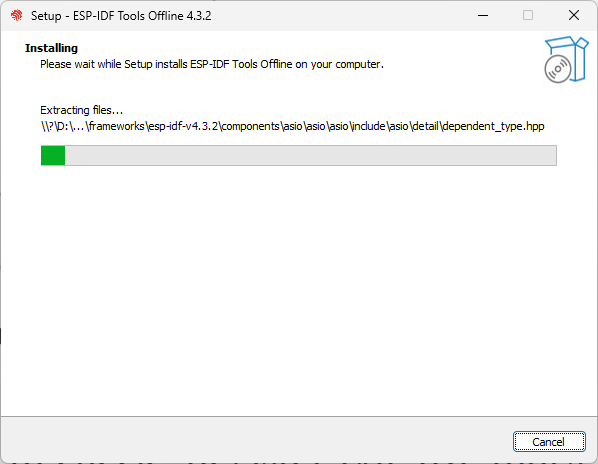
Figure 4.10. Installation progress bar -
After the installation is complete, it is recommended to check "Register the ESP-IDF Tools executables as Windows Defender exclusions..." to prevent antivirus software from deleting files. Adding exclusion items can also skip frequent scans by antivirus software, greatly improving the code compilation efficiency of the Windows system. Click "Finish" to complete the installation of the development environment, as shown in Figure 4.11. You can choose to check "Run ESP-IDF PowerShell environment" or "Run ESP-IDF command prompt". Run the compilation window directly after installation to ensure that the development environment functions normally.
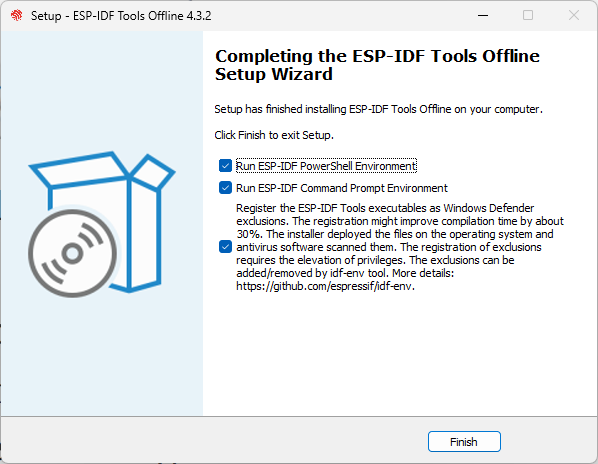
Figure 4.11. Installation completed -
Open the installed development environment in the program list (either ESP-IDF 4.3 CMD or ESP-IDF 4.3 PowerShell terminal, as shown in Figure 4.12), and the ESP-IDF environment variable will be automatically added when running in the terminal. After that, you can use the
idf.pycommand for operations. The opened ESP-IDF 4.3 CMD is shown in Figure 4.13.
Figure 4.12. Development environment installed
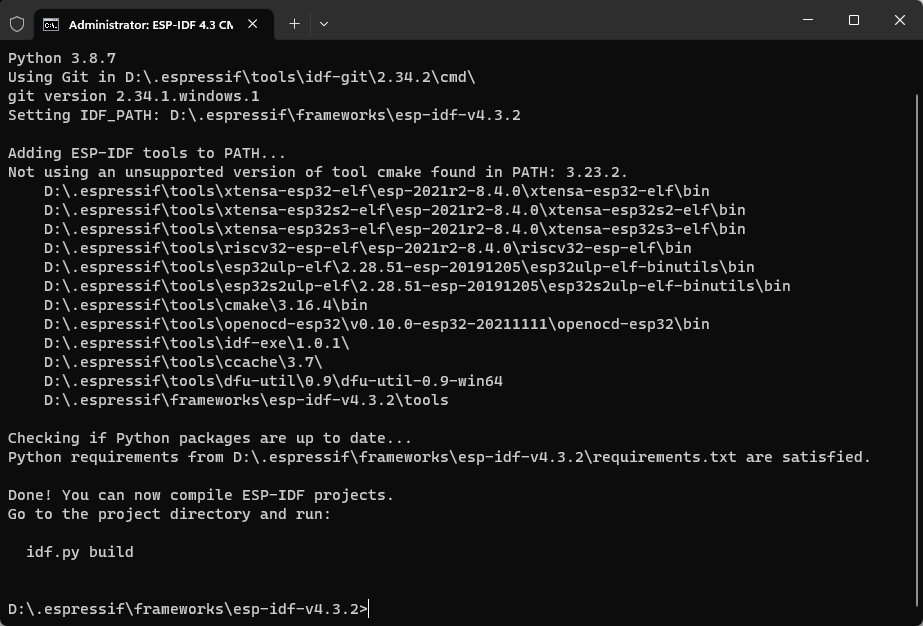
Figure 4.13. ESP-IDF 4.3 CMD