Provisioning Devices
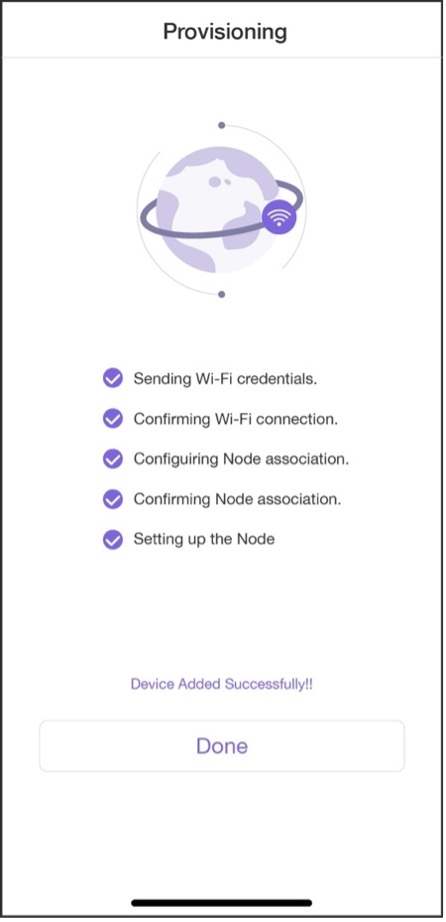
Once the smartphone app establishes a connection with the device, we can implement protocols through Bluetooth communication, provision the device, and activate the device on the cloud. The entire provisioning process consists of five steps as listed in Figure 10.25.

Provisioning devices in Android
📝 Source code
For the source code of provisioning in Android, please refer to
book-esp32c3-iot-projects/phone_app/app_android/app/src/main/java/com/espressif/ui/activities/ProvisionActivity.java.
private void provision() {

    provisionManager.getEspDevice().provision(ssidValue, passphraseValue, new ProvisionListener() {
        @Override
        public void createSessionFailed(Exception e) {}
        @Override
        public void wifiConfigSent() {}
        @Override
        public void wifiConfigFailed(Exception e) {}
        @Override
        public void wifiConfigApplied() {}
        @Override
        public void wifiConfigApplyFailed(Exception e) {}
        @Override
        public void provisioningFailedFromDevice(final ESPConstants.Provision FailureReason failureReason) {}
        @Override
        public void deviceProvisioningSuccess() {
            // Provisioning succeeded.
        }
        @Override
        public void onProvisioningFailed(Exception e) {}
    });
}
Provisioning devices in iOS
📝 Source code
For the source code of provisioning in iOS, please refer to
book-esp32c3-iot-projects/phone_app/app_ios/ESPRainMaker/ESPRainMaker/Interface/Provision/SuccessViewController.swift.
espDevice.provision(ssid: ssid, passPhrase: passphrase) { status in
    switch status {
    case .success:
    //Provisioning succeeded.
    case let .failure(error):
        switch error {
            case .configurationError:
            case .sessionError:
            case .wifiStatusDisconnected:
            default:
        }
    case .configApplied:
    }
}
Once the device is provisioned, we are ready to develop the device control function of the smartphone app.